Dyson DC14 Owners Manual: A Comprehensive Guide
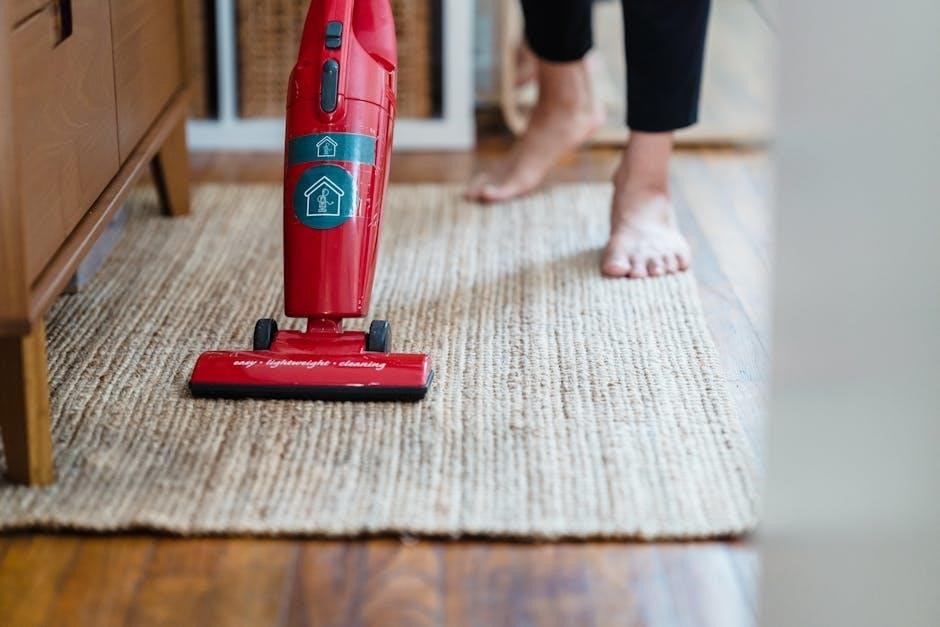
Welcome! This guide maximizes your Dyson DC14’s performance, offering essential tips and tricks for optimal cleaning and long-lasting reliability․
Congratulations on choosing the Dyson DC14, a powerful and innovative vacuum designed to revolutionize your cleaning experience․ This machine utilizes Radial Root Cyclone™ technology, providing constant suction to capture even microscopic dust and allergens․ Before first use, carefully review this owner’s manual to fully understand its features and ensure optimal performance․
The DC14 is engineered for homes with various floor types, offering versatile cleaning solutions․ Familiarizing yourself with the controls and components will unlock its full potential․ This manual serves as your comprehensive resource, detailing everything from initial setup and operation to maintenance and troubleshooting․ We aim to help you get the most out of your new Dyson, ensuring a cleaner, healthier home environment for years to come․
Key Features and Technologies
The Dyson DC14 boasts several groundbreaking technologies․ Its core is the Radial Root Cyclone™ technology, maintaining powerful suction even as the bin fills․ This eliminates the loss of suction common in traditional vacuums․ The DC14 also features a self-adjusting cleaner head, automatically adapting to different floor surfaces – from hard floors to carpets – for optimal cleaning․
Furthermore, the machine incorporates a HEPA filtration system, capturing 99․97% of particles down to 0․3 microns, including allergens and bacteria․ This makes it ideal for allergy sufferers․ Its lightweight design and maneuverability enhance ease of use, while durable construction ensures long-lasting performance․ These features combine to deliver a superior cleaning experience․
Understanding the Components
The Dyson DC14 comprises several key components working in harmony․ The main body houses the motor and cyclone assembly, generating powerful suction․ Attached is a flexible hose and wand, extending reach for cleaning above-floor areas․ A variety of floor tool attachments cater to different surfaces, including carpets and hard floors․
Essential accessories include a crevice tool for tight spaces and a dusting brush for delicate surfaces․ The dust bin, easily emptied, collects debris․ Filters – pre-motor and post-motor – ensure clean air exhaust․ Familiarizing yourself with each component’s function is crucial for effective operation and maintenance of your Dyson DC14 vacuum․
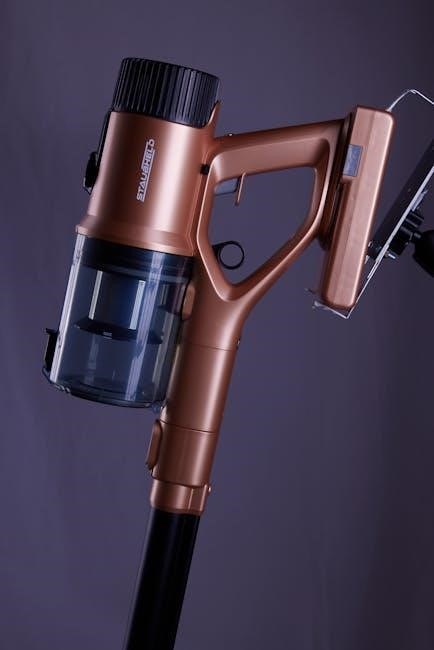
Identifying the Main Body
The DC14’s main body is the central hub, containing the powerful Dyson digital motor and the patented Root Cyclone™ technology․ This assembly generates the high suction needed for effective cleaning․ Notice the clear bin, allowing you to monitor dirt collection․ The body also features air vents for cooling and exhaust․
Locate the power button and suction control settings on the body․ Carefully examine the filter access points – both pre-motor and post-motor filters are housed here․ Understanding the layout of the main body is vital for maintenance, filter changes, and troubleshooting any potential issues with your Dyson DC14․
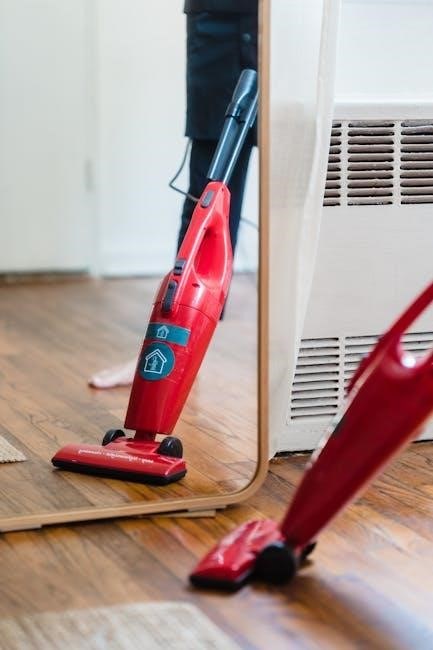
Hose and Wand Assembly
The DC14’s hose and wand provide extended reach for cleaning various areas․ The hose connects securely to the main body, offering flexibility during use․ The wand, typically a telescopic tube, extends for higher areas and retracts for compact storage․ Ensure a firm connection between the hose, wand, and any attached tools to maintain optimal suction․
Inspect the hose for any cracks or blockages before each use․ The wand’s locking mechanism should be functional, allowing for secure length adjustments․ Proper assembly is crucial for efficient cleaning; a loose connection will significantly reduce performance; Regularly check for wear and tear on these components․
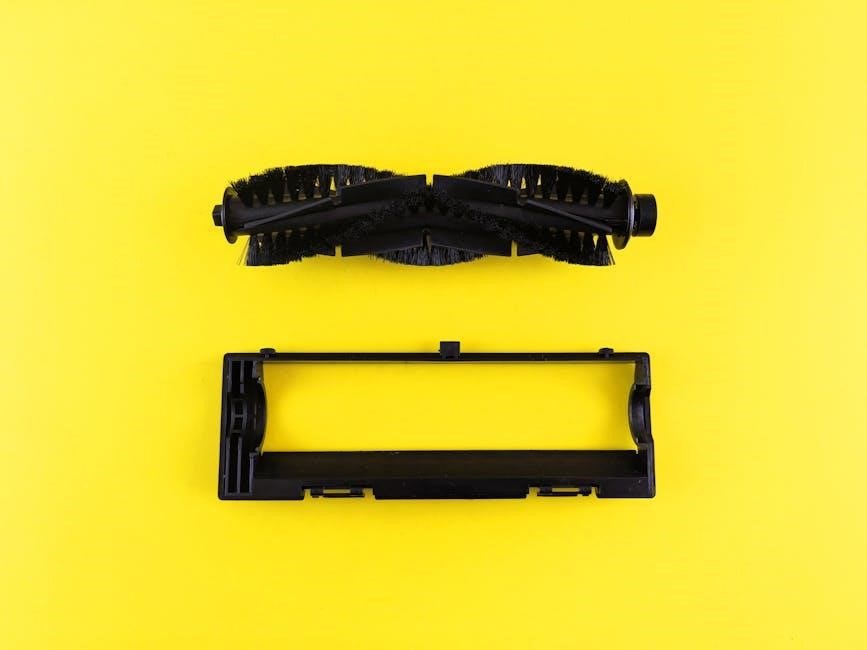
Floor Tool Attachments
The Dyson DC14 includes several floor tool attachments designed for diverse surfaces․ A combination floor tool typically handles both hard floors and carpets, switching between brush bar operation for optimal cleaning․ Dedicated hard floor tools prevent scratching and enhance polish․ Carpet tools agitate fibers, lifting embedded dirt and debris effectively․
Selecting the correct tool is vital for performance and floor protection․ Ensure the brush bar is functioning correctly and free from obstructions․ Regularly inspect the tools for damage and replace if necessary․ Proper attachment ensures a secure fit and maintains consistent suction power across all floor types․
Crevice Tool and Dusting Brush
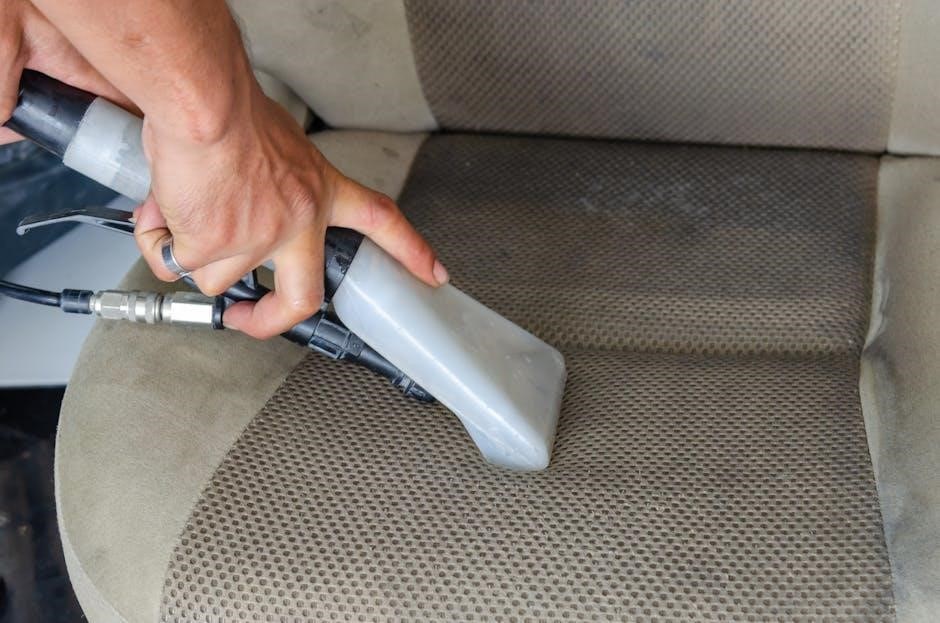
The DC14’s crevice tool excels at reaching tight spaces – along edges, between cushions, and in car interiors․ Its narrow nozzle delivers concentrated suction where standard tools can’t reach, effectively removing dust and debris from difficult areas․ The dusting brush, with its soft bristles, is ideal for delicate surfaces like furniture, lampshades, and bookshelves․
Use gentle pressure with the dusting brush to avoid scratching․ Regularly check both tools for blockages and clean as needed․ These attachments significantly expand the DC14’s versatility, enabling comprehensive cleaning beyond floors․ Proper use ensures a spotless home, tackling even the most challenging cleaning tasks․
Setting Up Your Dyson DC14
Before first use, carefully unpack your Dyson DC14 and verify all components are present․ Initial assembly is straightforward: connect the hose securely to the main body, ensuring a firm click․ Attach your desired floor tool or accessory to the wand․ Familiarize yourself with the controls – power button, suction settings, and floor type selectors – before beginning․
Always inspect the power cord for damage before plugging it in․ Ensure the electrical outlet is properly grounded․ Review the safety guidelines in this manual to prevent electrical hazards and maximize the lifespan of your Dyson DC14․ A correct setup guarantees optimal performance․
Initial Assembly Instructions
Begin by connecting the hose firmly to the back of the Dyson DC14 main body; a distinct ‘click’ confirms secure attachment․ Next, select your preferred floor tool – the combination tool is versatile for initial use․ Slide the chosen tool onto the wand, again listening for a secure click․
Ensure all connections are tight to prevent suction loss․ The wand then connects to the main body, allowing for extended reach․ Double-check all parts are properly aligned before powering on․ Proper assembly is crucial for efficient cleaning and prevents potential damage to the machine․
Power Cord and Electrical Safety
Always inspect the power cord for any signs of damage before each use – cuts, fraying, or exposed wires pose a serious safety hazard․ Never operate the Dyson DC14 with a damaged cord; contact Dyson support immediately․ Ensure the power outlet is properly grounded and matches the voltage requirements of your machine․
Avoid using extension cords unless absolutely necessary, and if used, select a heavy-duty cord rated for the appliance’s wattage․ Never pull the cord to disconnect from the outlet; grasp the plug itself․ Keep the cord away from heated surfaces and sharp objects to prevent damage․
Operating Instructions
Before starting, ensure the dust bin is properly installed and the filters are clean for optimal suction․ To power on, press the power button located on the machine body․ Adjust the suction power using the controls – lower settings for delicate surfaces, higher for carpets and stubborn debris․
Utilize the floor settings selector to match the floor type; carpet, hard floor, or automatic․ Extend the wand and attach desired tools for above-floor cleaning․ Maintain a steady pace while vacuuming, allowing the machine to effectively lift dirt and dust․ Regularly check for blockages during operation․
Powering On and Off
Initiating operation is simple: locate the main power button, typically situated on the machine’s body․ A firm press will activate the Dyson DC14, indicated by a change in the button’s illumination or a subtle motor hum․ To safely switch off, depress the same power button once more․
Ensure complete power-down before undertaking any maintenance or filter checks․ Avoid abruptly disconnecting the power cord while the machine is running, as this could potentially damage internal components․ Always verify the machine is fully off before storing it, preventing accidental activation․
Adjusting Suction Power
The Dyson DC14 offers variable suction control, allowing optimization for diverse surfaces․ Locate the suction power selector, often a slider or dial on the machine’s body․ Sliding or rotating this control adjusts airflow, impacting cleaning effectiveness and power consumption․
For delicate fabrics or lightweight curtains, reduce suction to prevent damage․ Increase suction for deep-pile carpets or stubborn debris․ Monitoring the motor sound can also indicate suction levels – a higher pitch generally signifies increased power․ Experiment to find the ideal setting for each cleaning task, maximizing efficiency and protecting your surfaces․
Using Different Floor Settings
The Dyson DC14 excels on various floor types thanks to its adjustable settings․ Utilize the floor head selector to switch between hard floors and carpets․ For hard floors, disengage the brush bar to prevent scattering debris and avoid scratching delicate surfaces․ Engage the brush bar for carpets to agitate and lift embedded dirt․
Observe the floor head’s position; it should smoothly transition between surfaces․ For thick carpets, ensure the brush bar is fully engaged for optimal cleaning․ Regularly check the brush bar for obstructions to maintain peak performance across all floor types․ Proper setting selection maximizes cleaning efficiency and protects your floors․
Maintenance and Cleaning
Regular maintenance ensures peak performance of your Dyson DC14․ Empty the dust bin frequently – when debris reaches the ‘max’ line․ Wash the pre-motor filter every month in cold water, allowing it to dry completely (24 hours) before re-installation․ Check the post-motor filter periodically and replace it as needed․
Unblock the hose and wand if suction decreases; use a long, sturdy object to dislodge any obstructions․ Inspect the brush bar for tangled hair or fibers and remove them․ Consistent cleaning prevents blockages and maintains powerful suction․ Ignoring maintenance will reduce cleaning effectiveness and potentially damage the machine․
Emptying the Dust Bin
To empty the dust bin on your Dyson DC14, detach it from the machine by pressing the release button․ Hold the bin over a trash receptacle and press the red release lever on the underside․ This opens the base, allowing debris to fall out․ Ensure the bin is completely empty before reattaching it․
Avoid overfilling the bin, as this can reduce suction power․ Regularly emptying – when debris reaches the ‘max’ line – maintains optimal performance․ Wipe the bin with a damp cloth if necessary․ Proper emptying is crucial for consistent cleaning and preventing blockages within the system․
Washing the Pre-Motor Filter
Regularly washing the pre-motor filter of your Dyson DC14 is vital for maintaining suction․ Remove the filter by twisting and lifting it from the machine․ Wash it thoroughly under cold water until the water runs clear – do not use detergents․ Gently squeeze out excess water, but avoid twisting or wringing․
Allow the filter to air dry completely for at least 24 hours before reinstalling․ A damp filter can damage the motor․ Washing every few months, or more frequently in dusty environments, ensures optimal airflow and prevents performance decline․ A clean filter contributes to a healthier home environment․
Checking and Cleaning the Post-Motor Filter
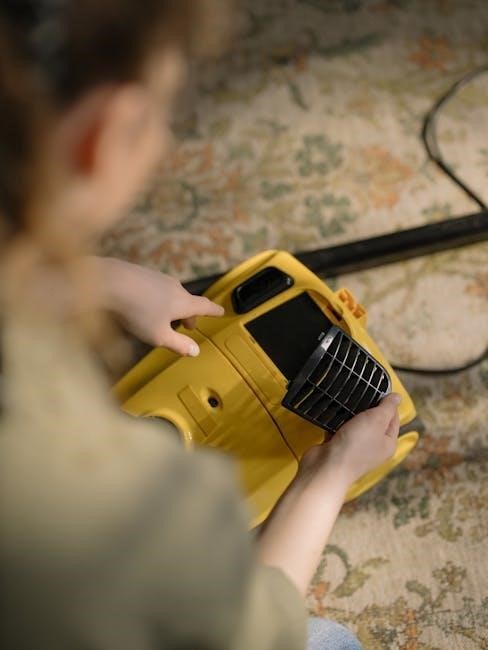
The post-motor filter, located after the motor, protects it from dust and ensures clean air exhaust․ Inspect this filter regularly for dust buildup․ To access it, refer to your DC14’s specific disassembly instructions – it often requires removing a panel․ Gently tap the filter to dislodge loose dust, or use a soft brush․
Avoid washing the post-motor filter, as it contains carbon filaments that can be damaged by water․ Replacement is generally recommended when the filter appears heavily soiled or airflow is significantly reduced․ Maintaining a clean post-motor filter extends the life of your Dyson and maintains air quality․
Unblocking Hose and Wand
Reduced suction often indicates a blockage in the hose or wand․ First, disconnect the hose from both the machine and the floor tool․ Visually inspect the hose for any visible obstructions – larger items can sometimes be easily removed․ Gently flex the hose to dislodge any trapped debris․
For wand blockages, detach it from the hose and use a long, flexible object (like a broom handle – carefully!) to push through any obstructions․ Never use sharp objects that could damage the wand․ Regularly checking and clearing these pathways ensures optimal airflow and cleaning performance for your Dyson DC14․
Troubleshooting Common Issues
Experiencing problems with your Dyson DC14? Several common issues can easily be resolved․ Loss of suction is frequently caused by a full dust bin or blockages in the hose, wand, or floor tool – address these first․ Overheating may indicate a blocked filter or airflow restriction; check and clean filters immediately․
If the brush bar isn’t spinning, inspect it for tangled hair or debris, and ensure the power cord is securely connected․ These simple checks can restore your Dyson’s performance․ For persistent issues, consult the full manual or Dyson’s support resources․
Loss of Suction
Reduced suction power in your Dyson DC14 is a common concern, but often easily fixable․ The primary culprit is usually a full dust bin – empty it regularly for optimal performance․ Next, thoroughly inspect the hose for blockages, carefully removing any obstructions․
Check the wand and floor tool as well; debris can accumulate here․ Ensure all connections are secure to prevent air leaks․ Finally, verify the filters are clean, as clogged filters significantly restrict airflow․ Addressing these points will typically restore full suction capability․
Overheating Problems
If your Dyson DC14 is overheating, immediately power it off and allow it to cool completely before attempting to troubleshoot․ The most frequent cause is a blocked airway, restricting airflow and causing the motor to work harder․ Thoroughly inspect the hose, wand, and floor tool for obstructions, removing any debris found․
A clogged filter can also contribute to overheating; ensure both pre-motor and post-motor filters are clean․ Avoid using the vacuum on excessively thick carpets for extended periods․ If the problem persists after these checks, contact Dyson support for further assistance, as it may indicate a more serious internal issue․
Brush Bar Not Spinning
If the brush bar on your Dyson DC14 isn’t spinning, first ensure the vacuum is switched on and set to a floor setting requiring brush bar rotation․ Check for obstructions – hair, string, or carpet fibers – wrapped around the brush bar itself․ Carefully remove these using scissors, being mindful not to damage the bristles․
Inspect the belt that drives the brush bar; a broken or stretched belt will prevent rotation․ If the belt is damaged, it needs replacing․ A blocked airway can also cause this issue, as the motor may not have sufficient power․ Finally, if none of these resolve the problem, contact Dyson customer support for professional diagnosis and repair․
Filter Replacement Guide
Maintaining optimal filtration is crucial for your Dyson DC14’s performance․ This guide details filter types and replacement schedules․ The DC14 utilizes both a pre-motor filter (washable) and a post-motor filter (typically requires replacement)․ Identifying the correct filter is essential; refer to your owner’s manual or the Dyson website for part numbers․
Generally, the post-motor filter should be replaced every 12 months, or more frequently with heavy use․ A clogged filter reduces suction and can strain the motor․ Regularly washing the pre-motor filter (as detailed in the maintenance section) extends its lifespan․ Always use genuine Dyson filters to ensure compatibility and maintain performance․
Identifying Filter Types
The Dyson DC14 employs two primary filter types: a washable pre-motor filter and a non-washable post-motor filter․ The pre-motor filter, usually a foam or felt material, captures larger dust particles before they reach the motor, protecting it from damage․ It’s typically located within the cyclone assembly and is designed for regular cleaning․

The post-motor filter, often a pleated HEPA filter, traps microscopic particles, ensuring cleaner exhaust air․ This filter is not washable and must be replaced periodically․ Look for the filter’s part number printed on its frame to ensure you purchase the correct replacement․ Genuine Dyson filters guarantee optimal performance and filtration efficiency․
Recommended Replacement Schedule
Maintaining optimal performance requires adhering to a filter replacement schedule․ The pre-motor filter should be washed every three months, or more frequently with heavy use, ensuring it’s completely dry before reinstallation․ Avoid using detergents; simply rinse with cold water․
The post-motor filter, being non-washable, necessitates replacement approximately every twelve months under typical household conditions․ Increased dust exposure or pet ownership may require more frequent changes – perhaps every six to nine months․ Regularly inspect the filter for discoloration or damage; if noticeable, replace it immediately to uphold suction power and air quality․
Dyson DC14 Technical Specifications
The Dyson DC14 boasts a powerful Radial Root Cyclone technology, delivering constant suction throughout cleaning․ Its bin capacity is 0․75 liters, suitable for medium-sized homes․ Maximum power consumption reaches 1400 Watts, while operational wattage varies with suction settings․
The machine weighs approximately 6․5 kg, offering reasonable maneuverability․ Cord length extends to 10 meters, providing a substantial cleaning radius․ Sound power level ranges from 83-88 dB, depending on the selected power mode․ Airflow reaches up to 185 air watts, ensuring effective dirt removal from various surfaces․
Warranty Information and Support
Dyson provides a 2-year limited warranty on the DC14 vacuum, covering defects in materials and workmanship from the purchase date․ This warranty includes parts and labor for repairs or replacement, at Dyson’s discretion․ Warranty does not cover accidental damage, misuse, or normal wear and tear․
For support, visit the Dyson website at dyson․com or contact their customer service hotline․ Online resources include FAQs, troubleshooting guides, and video tutorials․ Dyson also offers authorized service centers for more complex repairs․ Keep your proof of purchase for warranty claims; registration is recommended for faster service․