The Honeywell Home TH6320WF2003 is a Wi-Fi-enabled smart thermostat designed for efficient temperature control. It offers compatibility with various HVAC systems, including heat pumps and dual fuel setups, ensuring versatile installation options. With its sleek design and user-friendly interface, it supports smart home integration, including Apple HomeKit, making it a modern solution for home comfort. The thermostat requires a C wire for power and is ideal for homeowners seeking advanced climate control and energy savings.
Overview of the Honeywell Home TH6320WF2003 Thermostat
The Honeywell Home TH6320WF2003 is a cutting-edge smart thermostat from the T6 Pro Smart series. Designed for compatibility with most heating, cooling, and heat pump systems, it requires a 24VAC power supply and a C wire for installation. This thermostat supports Wi-Fi connectivity and integrates seamlessly with smart home systems, including Apple HomeKit. With its intuitive interface and advanced features, it offers precise temperature control and energy efficiency, making it an ideal choice for modern homes seeking enhanced comfort and added convenience.
Key Features and Benefits of the TH6320WF2003 Model
The TH6320WF2003 offers advanced smart home integration, including Wi-Fi connectivity and compatibility with Apple HomeKit. It supports geofencing, voice control, and energy usage reports for enhanced efficiency. The thermostat features a responsive touchscreen and a sleek design. It is compatible with most HVAC systems, including 2H/2C heat pumps and dual-fuel setups. The model requires a C wire for installation and is not suitable for electric baseboard heating systems. Its user-friendly interface and remote access capabilities make it a versatile and convenient solution for home climate control.
System Compatibility and Requirements
Designed to be compatible with most heating, cooling, and heat pump systems. Requires 24 VAC power and a C wire. Incompatible with electric baseboard heating systems for optimal performance.
Compatible Heating, Cooling, and Heat Pump Systems
The Honeywell Home TH6320WF2003 is compatible with various HVAC systems, including traditional gas, oil, and electric furnaces, as well as air conditioning units. It also supports heat pumps, making it a versatile option for different home setups. The thermostat works seamlessly with 2H/2C heat pump systems and dual fuel configurations, ensuring efficient temperature control. Its compatibility extends to systems requiring precise temperature management, making it suitable for a wide range of installations. Proper system matching ensures optimal performance and energy efficiency.
Power Requirements and Wiring Needs
The Honeywell Home TH6320WF2003 requires a 24VAC power supply and a common (C) wire for proper operation. It is compatible with most standard HVAC systems but is not suitable for 120V or 240V electric baseboard heating. The thermostat’s wiring needs include connecting to the appropriate terminals (R, W, Y, etc.) based on the system configuration. Ensure all connections are secure to avoid malfunctions. If unsure, consult the installation manual or a licensed professional to ensure safe and correct wiring. Proper wiring is essential for optimal performance and energy efficiency.
Incompatibilities and Special Considerations
The Honeywell Home TH6320WF2003 is incompatible with 120V or 240V electric baseboard heating systems. It also requires a C wire for power, which may necessitate additional wiring in older homes. Dual fuel systems and certain heat pump configurations demand specific setup procedures to ensure compatibility. Users with such systems must consult the installation guide for proper configuration. Additionally, the thermostat may not support all advanced features in every HVAC setup, so verifying system compatibility before installation is crucial to avoid operational issues. Always refer to the manual for detailed guidance.
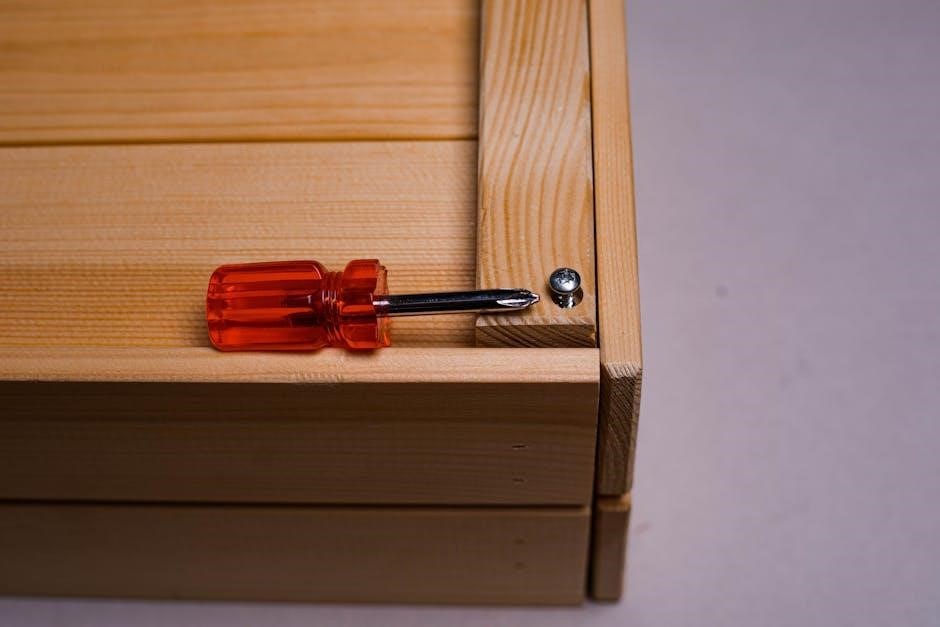
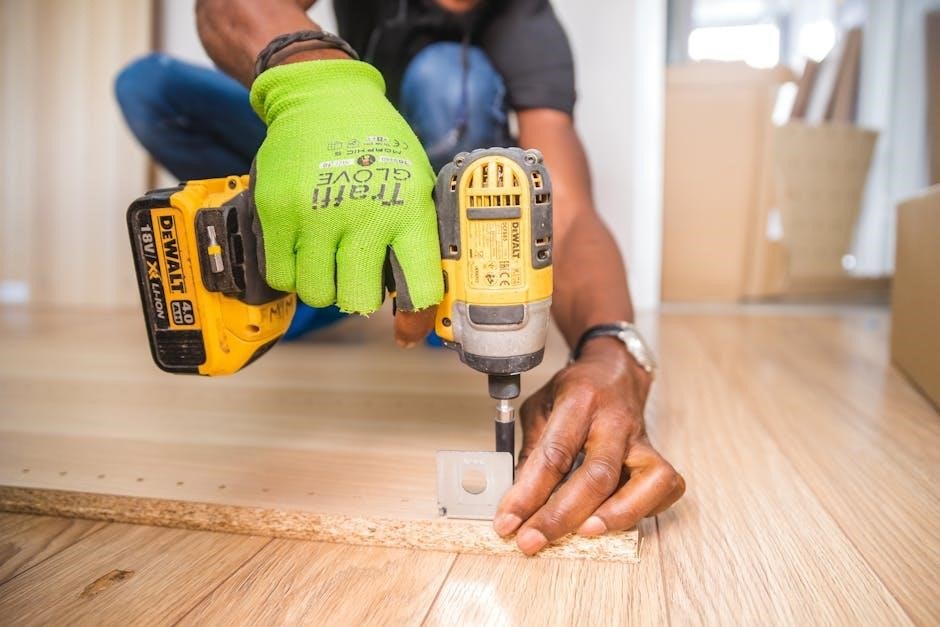
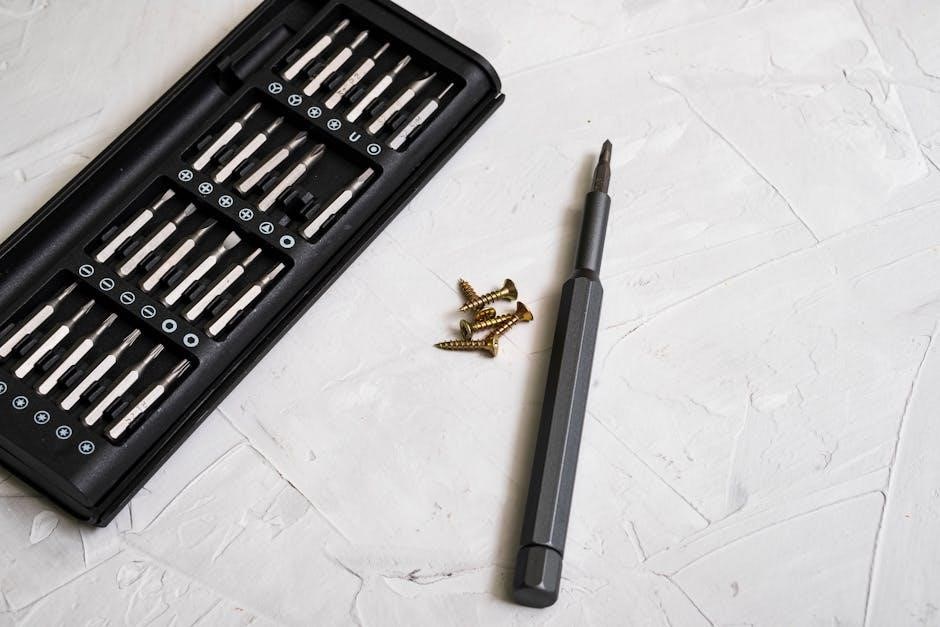
Tools and Materials Needed for Installation
Essential tools include a screwdriver, voltage tester, and drill. Materials like wires, mounting screws, and optional cover plates are required for a smooth installation process.
Essential Tools for a Successful Installation
The installation of the Honeywell Home TH6320WF2003 thermostat requires specific tools to ensure a smooth process. A screwdriver is necessary for removing the old thermostat and securing the new one. A voltage tester is crucial for safely verifying the power supply to the system. Additionally, a drill may be needed to create holes for mounting screws if the old thermostat’s mounting plate doesn’t align. Other essential tools include a level to ensure proper alignment, wire connectors for secure wiring, and a pencil to mark drill holes. Having these tools ready beforehand ensures a hassle-free installation experience.
Additional Materials Required for Mounting
Beyond the essential tools, specific materials are needed for a secure installation. The UWP (Universal Wall Plate) is provided with the thermostat and must be mounted to the wall using the included screws. If the existing junction box is not flush with the wall, wall anchors or spacers may be required. For covering gaps from previous installations, an optional cover plate is available. Ensure all materials are compatible with your wall type (drywall, plaster, etc.) to guarantee a sturdy and level installation of the thermostat.
Installation Steps
Ensure the power is off at the circuit breaker before starting. Remove the old thermostat, then install the UWP plate. Mount the thermostat, connect the wires, and restore power to complete the setup.
Preparing the Site for Thermostat Installation
Before installation, ensure the power to your HVAC system is turned off at the circuit breaker. Verify compatibility with your system type, such as heat pumps or dual fuel setups. Remove the old thermostat carefully and clean the area around the mounting location. Check for any paint gaps that may require the optional cover plate. Gather all necessary tools and materials, including the UWP plate and wires. Ensure the Wi-Fi router is operational for smart features. This preparation ensures a smooth and efficient installation process for the TH6320WF2003 thermostat.
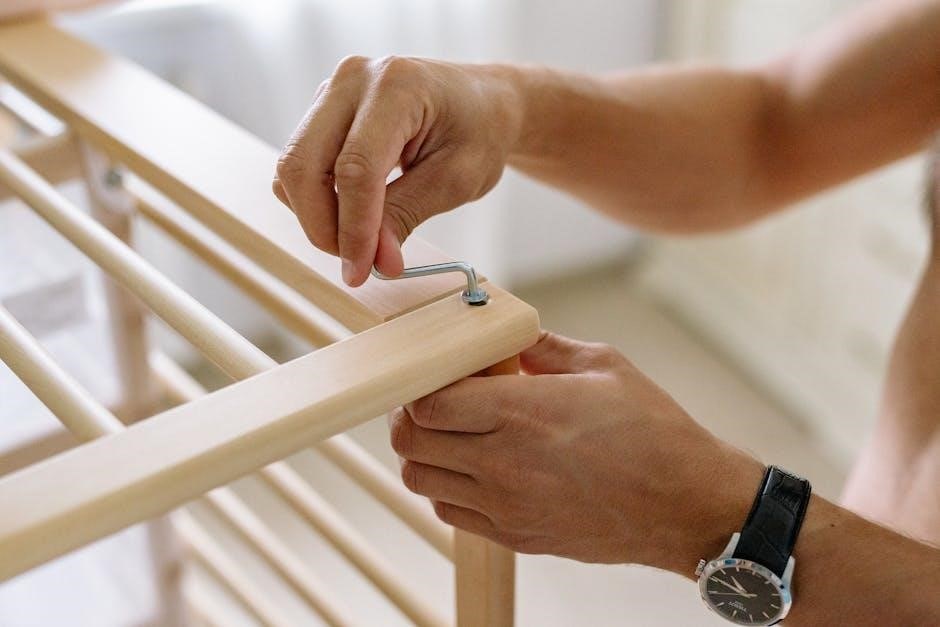
Mounting the Thermostat and UWP Plate
Begin by ensuring the mounting plate is level and securely attached to the wall or electrical junction box. Attach the UWP plate by hanging it on the top hook of the mounting plate and snapping the bottom into place. If needed, use the optional cover plate to conceal paint gaps or for junction box mounting. Ensure all components are aligned properly for a snug fit. This step ensures a stable base for the thermostat, promoting reliable operation and a professional appearance. Proceed carefully to avoid damaging the device or surrounding area.
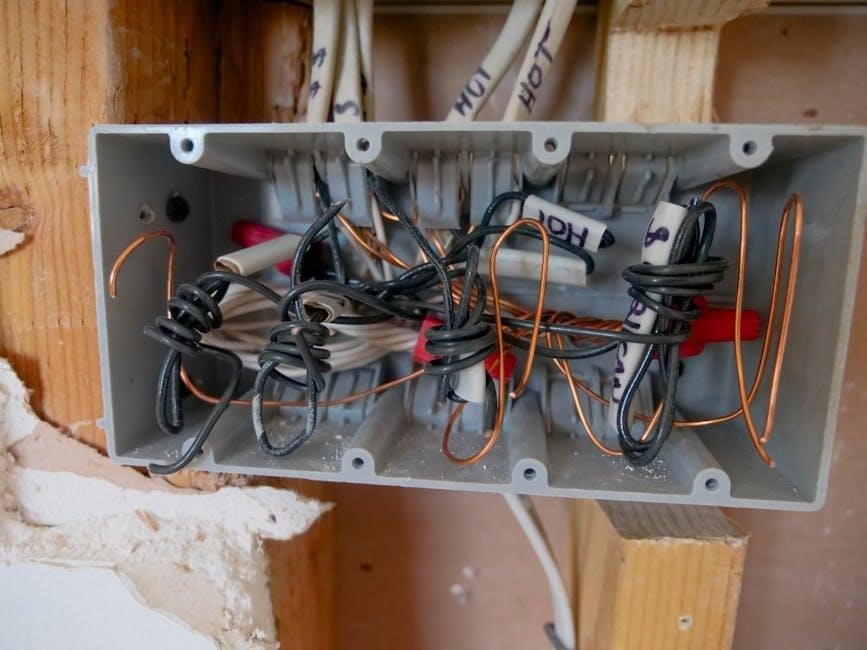
Connecting the Wiring and Ensuring Proper Connections
Connect the wires to the appropriate terminals on the thermostat, ensuring no loose connections. Refer to the wiring guide for proper terminal assignments, such as R, W, Y, and C wires. A C wire is required for power. For heat pumps, ensure correct connections to avoid auxiliary heat lockout; Double-check compatibility with dual fuel systems if applicable. Tighten all screws securely and verify no wires are pinched or damaged. Proper connections are critical for safe and reliable operation. Follow Honeywell’s wiring guide for specific configurations to avoid installation errors and ensure optimal performance.
Finalizing the Installation and Initial Setup
Once the wiring is complete, turn on the power to the HVAC system and thermostat. Ensure the display lights up and functions correctly. Complete the initial setup by selecting your language, setting the time, and configuring basic temperature settings. Connect the thermostat to your Wi-Fi network for smart features. Test the system by running a heating or cooling cycle to confirm proper operation. Refer to the manual for advanced settings like scheduling and energy-saving modes. If issues arise, consult the troubleshooting section or reset the thermostat. Proper setup ensures optimal performance and smart home integration. Always follow safety guidelines.
Configuration and Setup
The TH6320WF2003 requires initial setup, including language selection, time zone configuration, and Wi-Fi network connection. Ensure the thermostat is connected to your smart home system for remote control and scheduling. Use the Apple HomeKit setup code for seamless integration. Refer to the manual for advanced settings and troubleshooting. Proper configuration ensures optimal performance and energy efficiency.
Setting Up the Thermostat for Home Use
After installation, power on the thermostat and select your preferred language. Set the time zone and date to ensure accurate scheduling. Connect the device to your Wi-Fi network for smart features. Use the Apple HomeKit setup code for integration with your smart home system. Navigate the touch screen to configure temperature settings, create schedules, and enable energy-saving modes. Proper setup ensures seamless operation and energy efficiency. Refer to the manual for detailed guidance on advanced configurations and customization options for optimal home comfort.
Connecting to Wi-Fi and Smart Home Systems
Power on the thermostat and navigate to the Wi-Fi setup menu. Select your home network from the list and enter the password. Ensure your router is broadcasting a signal. For Apple HomeKit integration, use the provided setup code. The thermostat requires a C wire for proper functionality. After connecting, you can control it remotely via the app. If issues arise, reset your router and retry. Ensure stable internet for smart features to function correctly. This setup enables voice control and seamless integration with other smart devices for enhanced home automation.

Troubleshooting Common Issues
Check power supply and wiring connections. Reset the thermostat if display is unresponsive. Ensure proper Wi-Fi network connection for smart features. Consult the manual for detailed solutions.
Resolving Common Installation and Operational Problems
Common issues include wiring misconnections, power supply problems, or Wi-Fi connectivity failures. Ensure all wires are securely connected and the C wire is properly installed. Restart the router if Wi-Fi issues occur. If the display is unresponsive, reset the thermostat by removing batteries or power cycling. Check for firmware updates to resolve operational glitches. Verify system compatibility, especially with heat pumps and dual-fuel systems. Refer to the manual for detailed troubleshooting steps or contact Honeywell support for unresolved problems.
Maintenance and Care
Regularly clean the thermostat’s screen and ensure proper wiring connections. Check for firmware updates and avoid exposing the device to extreme temperatures or moisture for optimal performance.
Regular Maintenance Tips for Optimal Performance
Regular maintenance ensures the TH6320WF2003 thermostat operates efficiently. Clean the display screen gently with a soft cloth to prevent dust buildup. Check wiring connections periodically to avoid loose links. Update firmware regularly for improved functionality. Avoid exposing the thermostat to direct sunlight or moisture. Replace batteries (if applicable) as indicated by low-battery alerts. Schedule annual HVAC system checks to ensure compatibility and performance. By following these tips, you can extend the thermostat’s lifespan and maintain reliable temperature control.
References and Further Reading
Consult the official Honeywell Home website for the TH6320WF2003 user manual and installation guide. Additional resources include professional install guides and support documentation available online.
Official Manuals and Guides for the TH6320WF2003
The official Honeywell Home TH6320WF2003 user manual and installation guide are available for download on the Honeywell website. These resources provide detailed instructions for installation, configuration, and troubleshooting. Additional support materials, such as the service datasheet, offer technical specifications and advanced setup options. For professional installers, a dedicated guide outlines best practices for integrating the thermostat with various HVAC systems. Users are encouraged to consult these official documents to ensure proper installation and optimal performance of the device.